Mostrando entradas con la etiqueta DIY. Mostrar todas las entradas

domingo, 18 de agosto de 2013

DIY: GOLD NECKLACE

En el post de hoy os proponemos un  DIY super fácil de realizar y con el que iréis a la última! ;)

Se trata del collar tipo cadena que tanto estamos viendo en las tiendas. Es un collar muy estiloso que puede convertir un look plano y sencillo en otro mucho más sofisticado.

Comenzaremos con los materiales que hemos utilizado!!


In today's post we propose you a  super easy DIY which will help you to shine!! ;)

This is a string necklace that all of us are seeing in the stores. It is a very stylish necklace that can turn a simple look in another one much more sophisticated.

Let's start with the materials that we used!!


¿Qué necesitas? / What do you need? 

- Un collar tipo cadena (en este caso es un collar de pasta de mi madre...muy vintage).

- Un bote de pintura en spray dorado.

- Una lámina de papel o tela para no manchar la superficie (el spray se esparce por todos lados). 

- A string necklace (in this case is a pasta necklace of my mother... so vintage).

- A pot of gold spray paint.

- A sheet of paper or cloth to avoid staining the surface (the spray is scattered everywhere).


¿Cómo hacerlo? / Step by step

Como ya hemos dicho es super sencillo de hacer. En primer lugar tendremos que preparar la zona donde vamos a trabajar, ya sea tapándola con papel, cartón o tela.  


A continuación pintaremos con el spray dorado toda la parte frontal del collar. Esperaremos a que se seque solo unos minutos ya que esta pintura se seca bastante rápido. Y después continuaremos con la parte trasera.

El spray es muy cubriente, pero si queréis un acabado más profesional os aconsejamos que deis dos capas.


As we've said, it is super simple to do. First of all we have to prepare the area where we will work, either covering it with paper, cardboard or cloth.


Next we paint with the gold spray the front of the necklace. Wait for a few minutes to dry it, because this paint dries fairly quickly. And then continue to the rear.


The spray is very opaque, but if you want a more professional finish we recommend you to give two layers.


Por último dejaremos secar de nuevo y...listo!! Ya podréis lucir vuestro collar dorado en todo tipo de ocasiones!!

Finally let it dry again and... all ready!! Now you can wear your gold necklace at all kind of occasions!!


Esperamos que os haya gustado y que lo pongáis en práctica!!

Como siempre os decimos, nos gusta compartir nuestras ideas con todos vosotros así como que vosotros lo hagáis con nosotras!! 
Así que, si queréis, podéis enseñarnos vuestras creaciones o comentar que os ha parecido,  ya sea vía e-mail belenyelena123@gmail.com o por nuestras redes sociales: Instagram ( @befashionblogger ), Twitter ( @befblogger ) y Facebook ( Fashion Bloggers ).
 
Muchas gracias!! Os esperamos!! :)

We hope you enjoyed it!!

As we always say, we love to share our ideas with you and that you share yours with us!! 
So if you want, you can show us your creations or comment something that you think, via e-mail belenyelena123@gmail.com or our social networks: Instagram ( @befashionblogger ), Twitter ( @befblogger ) and Facebook ( Fashion Bloggers ).


Thank you very much! See you! :)

miércoles, 15 de mayo de 2013

DIY: COLLAR DE CADENAS II

Hoy, de nuevo, presentamos un DIY hecho con cadenas y cintas. Se trata de un collar muy sencillo de hacer y super barato, ya que hemos utilizado materiales que teníamos por casa. Además pensamos que puede lucir bastante este verano por su color y forma.

Today again we present a DIY made with chains and ribbons. This is a simple necklace super cheap so we have used materials we had at home. Also we think it may looks good this summer for its color and shape.

¿Qué necesitas? / What do you need? 

2 Cadenas planas plateadas de aproximadamente 40 cm (podéis usar cualquier cadena, esta es de un bolso que ya no utilizábamos)

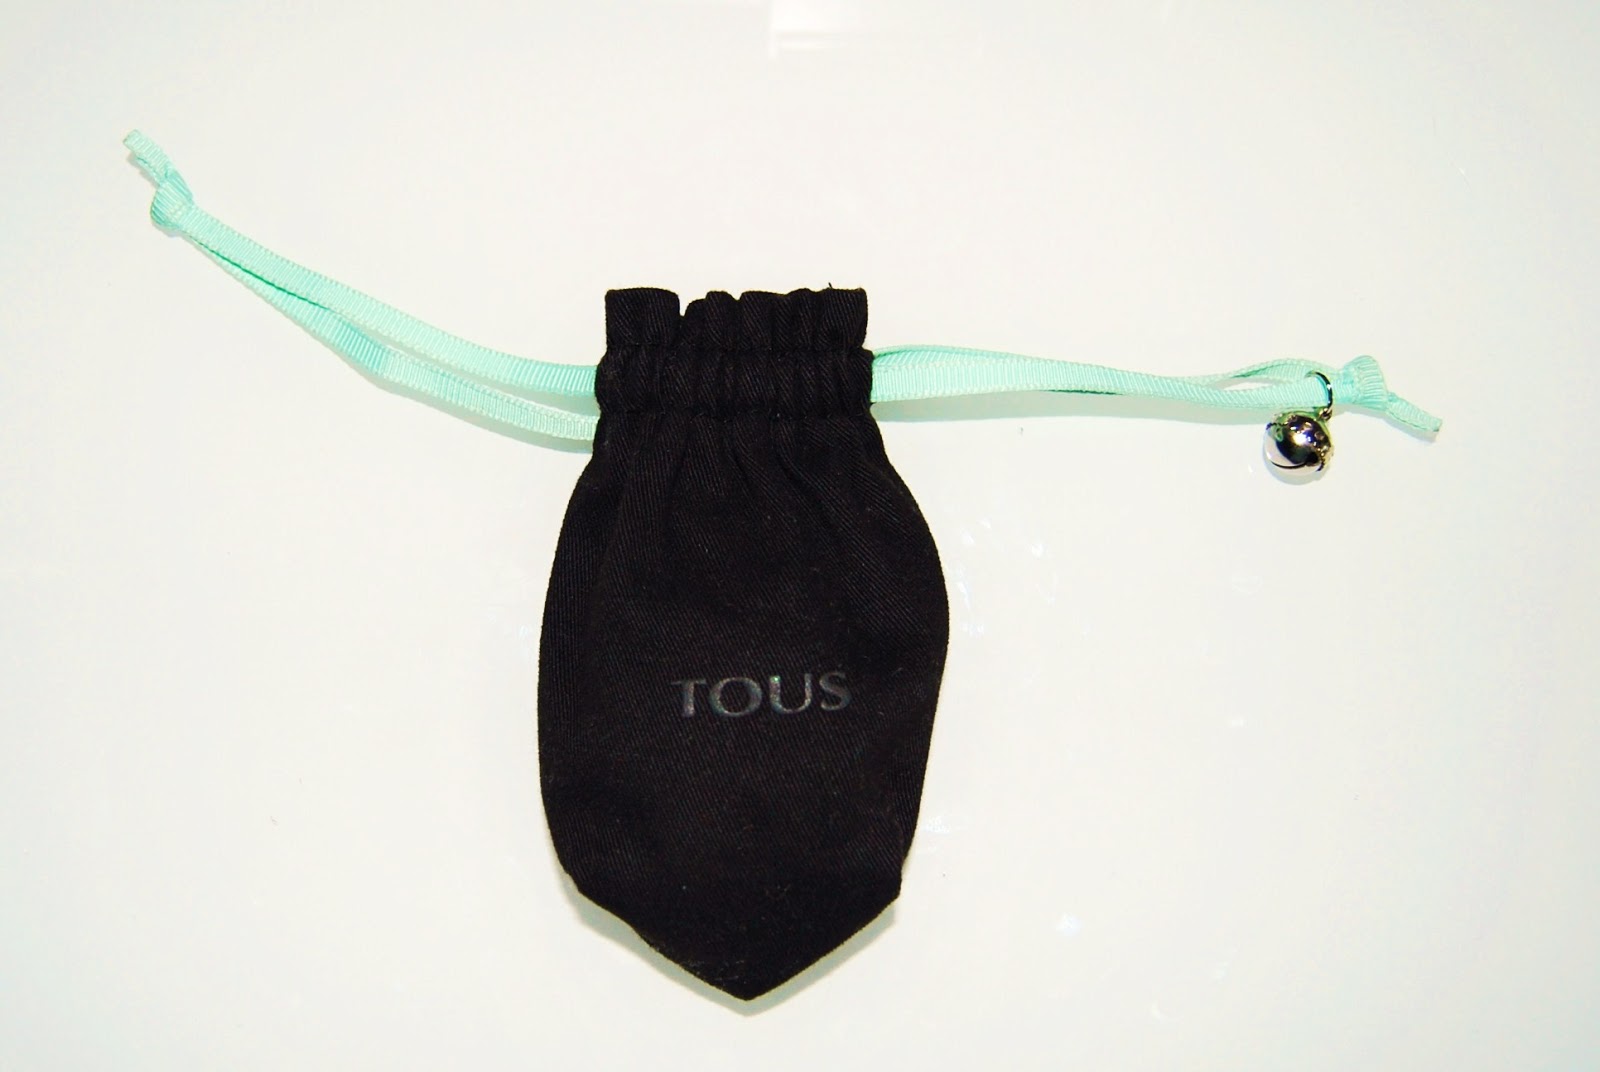
1 Cinta fina de 40 cm aproximadamente (nosotras hemos utilizado las cintas de los saquitos de TOUS por su color verde mint tan de moda esta temporada)

2 Anillas plateadas para los extremos (de la propia cadena hemos sacado dos anillas)

2 Flat silver chains about 40 cm (those are from a hand bag that we don't already use)

1 Thin ribbon about 60 cm (we have used the ribbons from TOUS bags with a green mint colour, it's so fashionable this season)

2 Silver rings (from the chains)


¿Cómo hacerlo? / Step by step

La realización del collar es muy sencilla también. Se trata de hacer una trenza de tres cabos usando las dos cadenas y la cinta. 

En primer lugar tendremos que pasar la cinta por la última anilla de los extremos de cada cadena y hacer un pequeño nudo. Una vez este sea resistente procederemos a hacer la trenza. Para ello os aconsejamos pedir ayuda a vuestras madres, hermanas... para que os puedan sujetar con fuerza el extremo de la trenza. Si no tenéis a nadie cerca en el momento que lo vayáis a hacer también podeis usar un poco de celo o cinta adhesiva y pegarlo en la mesa, esto os ayudará ;)

The way to do this necklace is very simple too. You just need to do a braid using two chains and a ribbon.

First of all we have to pass the ribbon through the last ring of the ends of each string and make a small knot. Then we will proceed to make the braid. To do this we advise to ask for help from your mother, sisters, friends... to hold hard the end of the braid. If you have no one near you can also use a bit of tape or masking tape and stick it on the table, this may help you ;)


Una vez terminada la trenza, realizaremos el mismo paso que al principio pasando la cinta por la última anilla de los extremos de cada cadena y haremos un pequeño nudito otra vez. Y os quedará algo así:

Once the braid is completed, we will make the same step as the first, passing the ribbon to the last ring of the ends of each string and make a small little knot again. And you would have something like this:


Como la cinta queda demasiado corta, pondrémos una más larga para que podámos atarla a nuestro cuello haciendo un lazo. Este paso servirá para reforzar el nudo de cada extremo y que ya esté listo.


El resultado final es este estiloso collar que podréis lucir este verano con vuestros tops y vestidos.

The result is this stylish necklace that you can wear this summer with your best tops and dresses.


jueves, 25 de abril de 2013

DIY: COLLAR DE CADENAS

Hoy os queremos presentar un DIY muy vistoso. Para aquellas que nos sigáis en Instagram ( @befashionblogger ) ya habréis visto el collar de cadenas que os queremos enseñar a hacer porque ya hemos subido alguna foto de él; para el resto, no os perdáis este post porque os gustará mucho.

Today we want to show you an attractive DIY. For those who follow us on Instagram ( @befashionblogger ) you have already seen this chain necklace, for the others, do not miss this post because we are sure you will like it a lot. 


¿Qué necesitas? / What do you need? 

3 Cadenas planas doradas de aproximadamente 50 cm


2 Cintas finas de lazo de diferentes colores de 2 m (en nuestro caso hemos escogidos azul y fucsia)

4 Anillas doradas para unir las cadenas
Broche

3 Flat golden chains of approximately 50 cm

2 Ribbons of different colors of 2 m (in our case we have chosen blue and fuchsia colors)

4 Rings to attach the chains

Brooch

¿Cómo hacerlo? / Step by step

Como podéis observar en la foto, nuestro collar de cadenas es en realidad dos collares unidos por el broche en la parte de detrás. Por ello, os vamos a enseñar a hacer los dos collares por separado para luego poder juntarlos o dejarlos así si os gusta más.

Para realizar nuestro collar azul debemos unir dos de las cadenas mediante el lazo. Poniendo ambas cadenas de forma paralela y emparejando los huecos de las anillas, vamos pasando el lazo por éstos de forma que el lazo quede en la cadena interior a la derecha y en la exterior a la izquierda. De esta forma, conseguiremos el efecto de una cadena grande con una franja azul (en nuestro caso) en el medio. 

Es bueno tensar la cinta porque ello sólo se va destensando con cada nueva unión.

As you can see in the picture, our necklace are actually two necklaces together by the pin at the end. Therefore, we will "teach you" how to make the two necklaces and then how to join them or just leave them alone if you like it more.

To make the blue necklace you must match two of the chains using the ribbon. So we need to have a big chain with a blue ribbon in the middle.

 If you tense the ribbons, the result will be perfect.


Para realizar el collar rosa tendremos que pasar el lazo por cada una de las anillas por su parte derecha para que el rosa quede en el interior del collar.

To make the pink necklace you have to pass the ribbon through each rings. 


Una vez realizados los dos collares, hay que hacer un pespunte con el lazo en el final de la cadena. Primero, tomaremos las medidas que deseemos teniendo en cuenta la longitud que queremos de nuestro collar y que uno es más corto que el otro; después, cortaremos con un alicate aquello que nos sobre. También cortaremos la cinta según esas medidas y haremos el pespunte para que nuestro lazo se mantenga fijo y no se pierda. 

When you finish the two necklaces, you will need do a stitch with the two ribbons at the end. 

It is for more security and in this way our ribbon would be perfectly fixed. 

Ahora llega el momento de unir. Con una de las anillas doradas uniremos la dos cadenas en uno de los extremos y haremos el mismo procedimiento en el otro extremos. Una vez cerradas las dos anillas que unen las cadenas por sus extremos, unimos una anilla a cada una de ellas. ¿Por qué? Dependiendo del modelo que uséis de cadena pueden pesar más o menos, y unir una anilla adicional en los extremos hacen el collar más resistente. 
 
Time to attach the necklaces! With one of the golden rings will join the two chains at the end and then do the same to the other. 


Por último, sólo queda unir el broche en uno de los extremos y...¡ya está terminado!

Finally, you just need attach the brooch to the end and... you are finished!


Esperamos que os guste el resultado! Es muy fácil y con esta técnica podréis hacer este tipo de collares en los colores que querais! Intentalo y mándanos tu foto con este fantástico DIY a nuestra dirección de e-mail (belenyelena123@gmail.com) o por nuestras redes sociales. Muchas gracias chicas! ;)

Hope you like it! It's pretty easy and you could have different necklaces of different colors! Try it and let us know sending your beatiful pictures about this DIY by e-mail (belenyelena123@gmail.com) or by our social networks. Thanks girls! ;)

jueves, 11 de abril de 2013

DIY: GLITTER SNEAKERS

Como os comentamos la semana pasada en nuestro Twitter ( @befblogger ), durante esta semana os íbamos a mostrar nuestro primer DIY (Do It Yourself o hazlo tú mismo) y prometimos que sería sorprendente e ideal. Pues bien...¡hoy es el día! Inspirándonos en las glitter sneakers de Miu Miu, hemos querido transformar unas simples zapatillas blancas en algo muy chic y que completarán cualquier sencillo outfit.

As we told you last week on Twitter ( @befblogger ), this week we were going to show our first DIY (Do It Yourself) and promised it would be surprising and ideal. Well... today is the day! Inspired by Miu Miu glitter sneakers, we wanted to transform a simple white sneakers in a very chic shoes that could complete any simple outfit.

Miu Miu

¿Qué necesitas? / What do you need? 

Zapatillas de tela tipo Converse (las nuestras son de Primark) 
Cinta de carrocero o adhesiva
Pegamento o cola blanca
“Glitter” o purpurina dorada o de los colores que más te gusten
Pincel
Pegamento extra fuerte tipo Super Glue
Pequeños brillantes ya sean sueltos o stickers. 

Canvas sneakers (ours are from Primark) 
Painter's tape 
Fabric glue 
Gold glitter 
Brush 
Super glue 
Small "diamond" stickers


¿Cómo hacerlo? / Steps

Antes de empezar prepara y protege la zona donde vas a hacer el DIY, si no quieres tener purpurina por todo tu cuarto durante varios días ;)

Before starting you can prepare and protect the area where you will do the DIY, if you do not want to have glitter all over your room for a days ;)

1. Quita los cordones de tus sneakers para poder trabajar mejor con ellas y, a continuación, con la cinta de carrocero o adhesiva protege toda la puntera y las partes laterales de la suela.

1. Remove the laces from your sneakers to work better with them, then protect all the sides of the sole with adhesive tape. 


2. En un recipiente echa la cola blanca junto con la purpurina y mézclalo hasta que la purpurina se haya integrado perfectamente en el pegamento.

2. Put white glue with glitter in a bowl and mix them up together until the glitter is seamlessly integrated into the glue. 


3. Con un pincel, extiende la mezcla de cola y purpurina por la zapatilla. Te aconsejamos ir por partes y poco a poco para que queden bien cubiertas todas las zonas. Aun así, probablemente tengas que repetir el proceso dos veces para que la purpurina se quede bien fijada a la zapatilla y no haya huecos.

3. With a brush, apply the mixture of glue and glitter on the sneaker. We advise you to go step by step and gradually so that all areas are well covered. Even so, you probably will have to repeat the process twice to get the glitter to stay firmly attached to the shoe and without gaps.


4. Una vez cubiertas completamente, déjalas secar durante unas dos horas. A continuación, despega toda la cinta de carrocero con mucho cuidado.

4. When they are completely covered, let them dry for about two hours. Then take off all the tape carefully. 


5. Por último, aplica el pegamento en la puntera y coloca uno a uno los brillantes haciendo la forma que más te guste. Si te ayudas con el pincel conseguirás fijarlos más.

5. Finally, apply the glue on the toecap and placed one by one the stickers making the shape that you like. If you use a brush maybe will be more easy and you will paste them better. 


Ahora pon tus cordones y listo! Ya puedes estrenar tus nuevas glitter sneakers!

Now put your laces again and it is all ready! You can use for first time your new glitter sneakers! 


Unos simples pasos y unas zapatillas diferentes con un toque chic, con las que podréis crear unos outfits como estos:

A few simple steps and a different sneakers very chic, with which you can combine your clothes to create some looks like these: 


Mañana, nuevo post en el que podréis ver estos dos looks con nuestras glitter sneakers! Os esperamos!

Tomorrow, new post in which you will see our glitter sneaker outfits! We will be waiting to you!